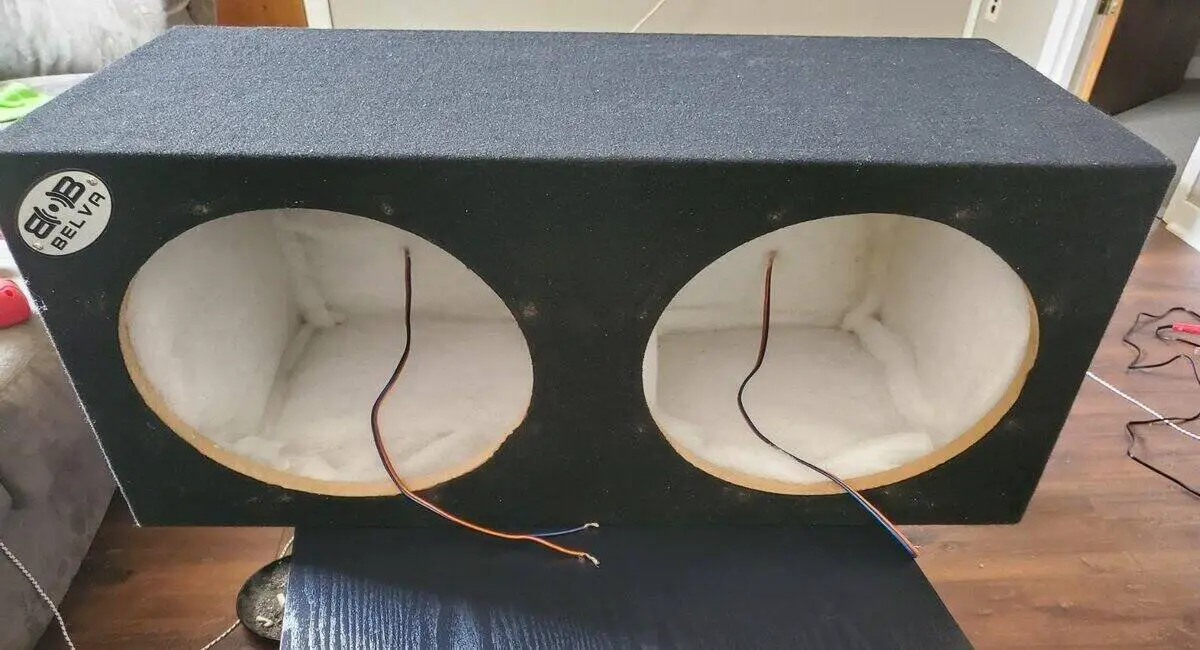
Having the same old sealed sub box makes us feel boring and it lacks the bass punch you used to get, sometimes doesn’t get enough louder for competing with higher frequency sounds. That’s why for saving money and having better bass, we suggest making the sub box ported.
The ported idea is exactly the opposite of closed or sealed enclosure. In the sealed subwoofer box, airflow doesn’t get any chance to occur. In contrast, in a ported subwoofer, you’ll allow air flow in the sealed box and this outside air flow will likely increase the bass volume.
Here we are to let you know how to make a sealed sub box louder by making it ported. The theory sounds a lot easier, but it requires some experience. So, let’s get started.
Contents
Making a PVC Ported Sealed Subwoofer Box
It’s time to guide you on how to port a sealed sub box and we are discussing the most popular and efficient PVC ported method. Firstly, measure the internal dimensions of the subwoofer box, then find out the volume in cubic cm. Or if you want to make your subwoofer ported, then firstly you have to make a sealed subwoofer box. For that you must know
- The resonance frequency which is known as the lowest frequency the subwoofer driver offers.
- Now you can use subwoofer sealed box design making websites or applications and also the subwoofer enclosure calculator to have the perfect measurement.
- Now you know your subwoofer diameter, use an online vent size measurement calculator and you will have an idea about how to vent a subwoofer box.
- We suggest using dense wood or MDF for making a sealed box.
- After building the sealed sub box, try to set the sub through the vent, hopefully you don’t find the vent lot bigger or smaller for the subwoofer.
Determining How Much Ported the Sealed Box Must Have
Now you have a sealed sub box and you have to make it ported. Before going to the formula, you must know the volume of air in cubic inches in the sealed box, one way you can do it is by using a graduated cylinder marked in cubic inches. Pour the sealed box with water fully and keep note down all the volume and finally add them.
Now go online and search for subwoofer enclosure modeling software and you will see it. Asking about resonance frequency, velocity of sound which is 343 m/s, value of pi, area of the port area and the volume of the sealed sub box. Providing all those data in the subwoofer box calculator, you’ll have the port size and port length.
How to Port a Sealed Sub Box Using PVC Pipe
You may have the best subwoofer in the market and you may think the premium subwoofer sealed box must contain high quality metal porting. . Well don’t have any doubt about PVC pipe porting, PVC sounds cheap but it works absolutely okay even for the top performing subwoofers. But we are assuring, rather than using a costly pre-built ported sealed subwoofer box, just turn your sealed sub box into a port using PVC. It will save you a lot of money.
Equipment and Materials
- PVC pipe for porting.
- Hand saw
- Drill machine
- Cross bracing
- Glue gun
- Sand paper
These things are required mostly, but maybe with person to person and the different method of protected sealed box, you may need some extra equipment too.
Porting Method
- Firstly, detach the subwoofer from the vent and take it off with electrical lines. Now use a marker to draw the circumference of PVC pipe on the safe side where you will attach the subwoofer. If you feel like it looks bad to you, then you can do it on the enclosures back. But besides that, the subwoofer is in the right position.
- Now use the drill machine to drill through the marked circumference of the PVC pipe. Or you can use an electric hand saw to cut the round shape.
- Smooth the edges of the cutting round area using sand paper.
- Now cut down the PVC pipe according to the length you got from the online calculator for the ported sealed box and again smooth the newly cut area with sand paper.
- Now insert the PVC pipe through that hole from the enclosure side and use the glue gun to apply glue between the pipe and the ported hole.
- Some people use wood glue or carpenter glue around both sides of the joint between the ported hole and the PVC pipe. Doing this doesn’t keep any room for air passing between the surfaces of the box hole and PVC pipe.
- Now if you are not satisfied with joining the area, use wood glue around them.
- It’s time to reattach the subwoofer in the vent and measure the performance. You can use a SPL meter to know the output of the box and tuning frequency.
- Now you should adjust the port and check it a few times.
Read more: Sealed Subwoofer Box Tuning Guide.
FAQ
1. Can you port a sealed box?
– to make a sealed box ported, first you must know the volume of air in cubic inches inside the sealed box, resonance frequency etc. and a few other common things. Using that data, you can calculate the total length and width of the ported PVC pipe. If the length is much higher, then you must do more than one port.
2. What is a better sealed or ported sub box?
– sealed sub boxes provide the accurate bass for medium frequency but they can reach the lowest frequency range, but by adding ports for air passing, you will listen to a louder and lower frequency bass. So, it depends what you like to listen most, more accurate or louder bass.
Final Words
Well, now you have done making the ported seal box and tested primarily connected with amplifier and audio source. We recommend you to play medium high and medium low frequency music and then measure the sound pressure level. The main purpose of guiding you on how to port a sealed sub box is to make your sealed box sub sound louder without changing anything costly like the brand of the sub or amplifier. But don’t expect the ported sealed box to provide accurate bass like a sealed box. Because porting emphasizes on loudness rather than accuracy.


