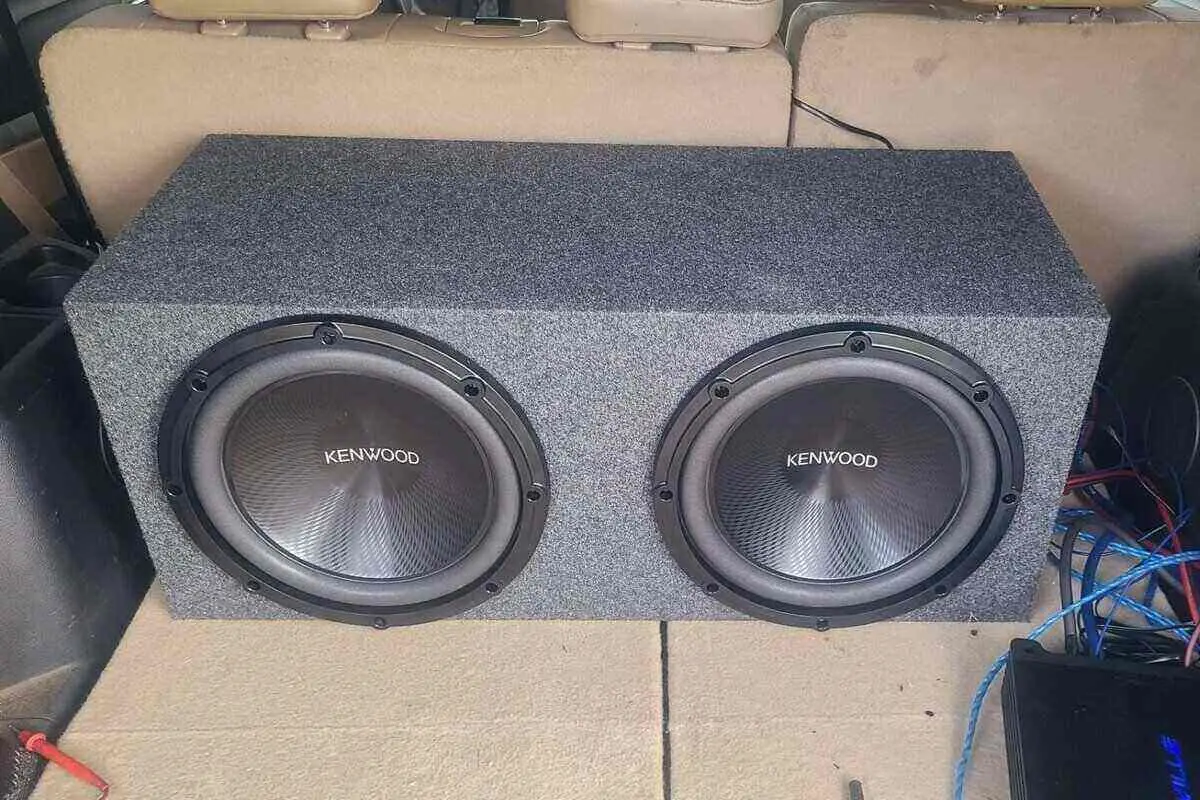
Sealed refers to an enclosure around the subwoofer. It is designed to generate precise music, particularly deep and accurate bass. Conversely, the tuning process plays a crucial role in optimizing the subwoofer’s musical output. But how do you tune a sealed subwoofer box?
Tuning a sealed subwoofer involves three key steps: identifying the tuning frequency, fine-tuning the audio volume, and employing an audio test generator.
This guide will describe step-by-step methods of tuning a sealed subwoofer. Also, you will know the advantages of a sealed subwoofer. So, let’s start!
Contents
The Basics You Should Know Before Tuning a Subwoofer Box
It is crucial to have a basic knowledge of before fine-tuning. These will help to optimize the subwoofer correctly.
Knowing the amount of loudspeaker and crossover design is important. If you have basic knowledge of loudspeaker design, optimizing the subwoofer will be easier.
- Appropriate speaker measurements are important to optimize audio performance.
- Speaker crossover design is important to determine the frequencies between the speaker and the subwoofer.
- Tuning the crossover point can help you enjoy a seamless and balanced sound.
How To Tune a Sealed Subwoofer Box: Effective 7 Steps
Are you thinking of tuning a sealed subwoofer box but don’t know the right way? Here are some simple steps for you.

Step 1: Separate the enclosure
Decoupling your subwoofer from the enclosure is crucial. A barrier between the subwoofer and the seal can prevent distortion and unwanted vibration. Several methods can be used for decoupling, including foam pads, rubber gaskets, and vibration isolators.
Moreover, using a separate baffle board to set up the subwoofer can reduce distortion. Then, keep the subwoofer inside the box and position it correctly. Remember to mount it with screws.
Step 2: Frequency response and sound performance
Determine your preferred sound output and frequency response from the subwoofer. Generally, you have set up some parameters in subwoofer tuning. So, knowing your preferred frequency response and sound is important before setting up the parameters.
Step 3: Adjust volume
Measure and adjust the subwoofer seal volume. Check the subwoofer specification to know the measurement of the sealed box. In this case, you can use a measurement tape to determine the sealed box size. Adjust it gradually if you don’t get the ideal volume per the recommendation. But remember that tiny changes in volume adjustment may impact the bass response. So, gain proper knowledge on how to make a sealed box louder.
Step 4: Adjust the resonant frequency
Likewise, it is crucial to determine the resonant frequency to get precise tuning and bass notes. You can optimize all your preferred settings to get enough power handling and frequency response.
Step 5: Amplifier connection and configuration
In this step, you need to connect and configure the amplifier and subwoofer. Then, set up the gain level control according to your car audio. It is highly recommended that you avoid subwoofer overdriving.
Step 6: Check the subwoofer performance
How can I properly adjust my subwoofer? carefully check the various bass tracks and make sure about subwoofer performance. Especially analysis of the tightness of the bass and music clarity. If you have less impact, reduce the damping material to adjust the seal volume. By contrast, add more dampening for weak sound.
We suggest using an audio test tone generator. This audio test generator will let you know the best tuning frequency for the subwoofer.
Step 7: Crossover setting and fine-tuning
Have your car audio system a built-in EQ and crossover? Then, you can improve the subwoofer performance with three controls. Adjust the equalizer to get the required frequency that can give your desired sound balance. In the meantime, please set up a crossover point because it helps to mix the subwoofer performance with the main speaker.
Tuning a sealed subwoofer is an important process of optimizing your audio quality. Remember to set the seal volume, desired frequency response, ideal damping materials and Equalizer settings.
How to Tune a Sealed Subwoofer Box to 30hz?
Do you want to get maximum performance from a sealed subwoofer? Then, setting up the standard 30 Hz tuning frequency is crucial. Besides, a 12-volt tuning subwoofer is recommended to use. However, a 30Hz frequency may only be ideal for some subwoofers. A clear idea about resonant frequency, tuning method, and the sealed box is mandatory. Then, you can easily understand the ways of achieving maximum performance.
Do note resonant frequency refers to the fundamental frequency. Naturally, a subwoofer can resonate with the fundamental frequency. Consider the volume of air inside the sealed box to ensure resonance frequency. Also, consider the crossover settings, amplifier power and driver selection.
Why Is a Sealed Subwoofer Better Than Other Subwoofer Designs?
The sealed subwoofer was designed with some added advantages. So, many audios enthusiasts love to use it.
- The sealed subwoofer is reliable for maximum sound clarity and perfect bass reproduction.
- This type of subwoofer is well-known for producing deeper bass notes and flat frequency response.
- One special convenience of sealed subs is preventing vibration and distortion.
- It ensures precise bass response to produce music on large-scale.
- The smaller and compacted size makes a sealed subwoofer easier to set in limited space.
However, a sealed subwoofer has some downside, too. For example, the sealed subwoofer is less efficient than the ported subwoofer. However, it is possible to get maximum volume from a sealed sub-box. For this you need to know how to port a sealed sub-box.
What Are the Appropriate Uses of Sealed Subwoofers?
- Sealed subwoofers are appropriate for those people who want to get maximum clarity and accuracy from music. Generally, these are used in music genres and audio recordings.
- A sealed subwoofer is ideal if you want a robust bass response in a limited space.
- Many audio lovers love to ensure a sealed environment with a sealed subwoofer.
- A sealed subwoofer would be great if you want distortion- and vibration-free music in your home theater, studio, and car.
Final Words
We hope you understand How to tune a sealed subwoofer box. You need to follow seven crucial steps to fine-tune your sealed subwoofer. Must remember to configure the amplifier and speaker correctly. A must check the subwoofer performance at the end of the tuning.

