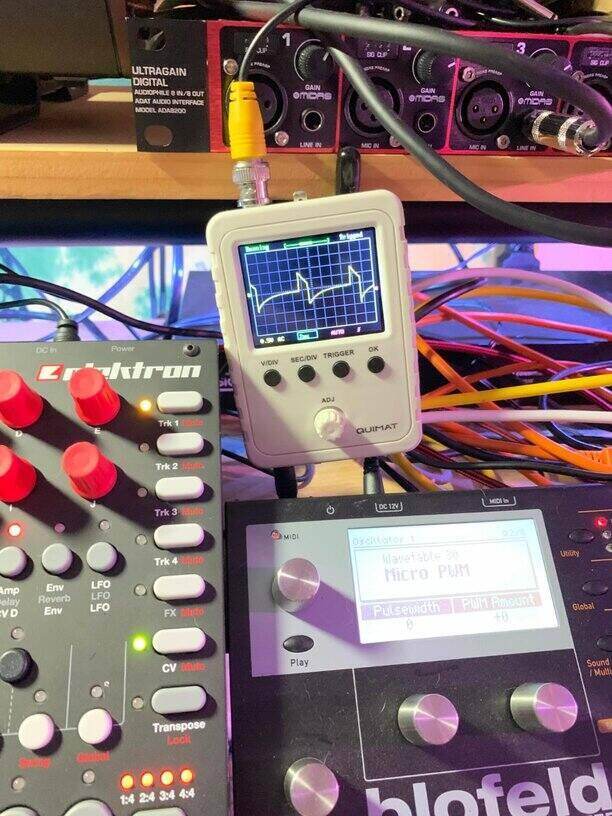
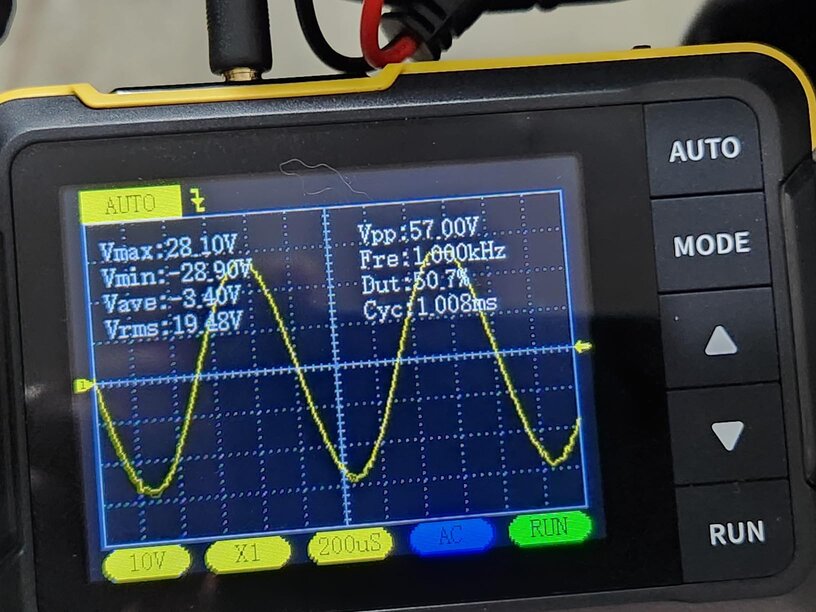
By the time you are supposed to use an oscilloscope, we believe you have done installing your car audio speakers, subwoofers, amplifiers and everything is tuned. But have you set the gain yet? Well, gain is the main element for tuning because it may cause the potential clipping. Tuning the gain helps to avoid clipping between the output of the receiver, DSP and amplifier.
It’s quite tough to describe to you the clipping sound that’s why here we will show you the clipping wave with an oscilloscope. You can set the gain without an oscilloscope, but honestly without knowing where the clipping happens, you can not set the gain to the most suitable position. That’s why you must know how to use an oscilloscope for car audio to set the best possible gain for your audio system.
Contents
Setting up The Volume Using Oscilloscope
It’s time to let you know how to set an oscilloscope to set amp gain, but before that, we’ll let you know the procedure of tuning the volume using the oscilloscope. It’s necessary to test the 0db tones for the head unit and -3 db and -5db for the amp to make sure there won’t be any clipping.

There are dozens of oscilloscopes available in the market in every range; we get a suitable one for setting the gain. But using a better oscilloscope for car audio will provide you the closest gain before clipping.
Step-01: Set all the Sound Settings to Null
First of all, you must ensure there are no sound curve adjustments applied and any sound enhancements. Also set the S/W (subwoofer level) to 0. Now get the oscilloscope and set it on AC.
Step-02: Connecting RCA with Oscilloscope
Unplug the RCA cable that is connected in the amp from the head unit; plug the RCA cable into the oscilloscope. Make sure you are not connecting the S/W output to the oscilloscope.
Step-03: Downloading the Test Tune
Before doing all these procedures, you must go to the Kicker test tones website and then go to the “KXMA and KMA Amplifier Gain Matching”. Now download the 50 hz -5db, 1khz 0db and 1khz -5db sound and put them in a pen drive or somewhere you can play the sounds easily into your car audio head unit.
Step-04: Adjusting the Volume without Clipping
Now, play the 1 kHz 0db test tone and set the track to repeat if it is too short. Start raising the volume and look for the sine wave into the oscilloscope. Use the adjustment button on the oscilloscope and make sure the screen shows one or two complete waves. Continue tuning the volume up until you detect a flatten portion into the sine wave or start losing the smooth curve. So set the volume just below where the flat sine wave has arrived. Just ensure a smooth sine wave, no flat portion. That’s the top most point of your volume, below it the sound won’t get distorted or clipped.
Setting Amp Gain with Oscilloscope
You have got the top volume where the clipping doesn’t arrive, but this is not the volume you will always listen to. Because it’s too high for that. We just test the volume range with an oscilloscope to know the limit of maximum sound without setting up the gain. To set the amp gain, you must know how to use an oscilloscope for car audio and how you keep the volume just below the mark where the sound may clip. You already got that mark by using the oscilloscope. So, it’s time to set the amp gain using an oscilloscope.

Step-1: Setting the Crossover
Now browse in the head unit, go to the “audio settings” and then “speaker and crossover” option. Go and check the crossover for the subwoofer and make sure the frequency is well above the range of the sound you are going to play. Or keep the crossover 120 hz for the subwoofer.
Step-2: Set the Subwoofer level and Equalizer
Then go to the “Equalizer” option, and set the subwoofer level (S/W) to zero. Subwoofer level can go negative and positive. But you must keep the S/W level to a line level, that is 0 degree increase and 0-degree decrease.
Moreover, set the EQ where you want it, because once set the gain and then change the EQ, there is a high chance your gain will cause clipping again. So make sure everything in the audio setting is already set up, and then you set the gain. Finally play the 50 hz -5db sound and go near the amplifier and turn the gain down all the way.
Step-3: Connecting the RCA Cables with Oscilloscope and Adjust the Volume
Connect the subwoofer channel with the oscilloscope, and again check the volume, ensuring there is no clipping. Now go to the head unit and turn the volume down, because you are not going to listen to music in that high volume but just make sure if you ever need to listen in high volume, the sound doesn’t clip.
Step-4: Raising the Amplifier Gain
Now, go back to the amplifier and turn up the gain slowly. Keep the gain knob turning up until you see the curve of the wave starts to lose its smooth curvy shape. So just like the volume setting, keep that gain right before when the wave starts to lose its curvy shape.
Same way, you set the gain for 1 kHz 0db and -5db sound so that your speaker doesn’t play distorted and disturbed sounds.
FAQ
1. What Happens If The Gain Is Too High Or Too Low?
– too low gain causes hiss and light noises in the background, on the other hand too high gain causes distortion because of sound clipping. That’s why it is necessary to set a gain that doesn’t make any noises even if you play the volume higher.
2. Why Do You Need An Oscilloscope to Set The Gain?
– An oscilloscope for car audio isn’t a must; you can get noise free by listening to the music closely. But for that you must find a music that covers the entire genre’s gain limit for your car audio system. But if you set the gain level seeing the sin wave, then definitely you are doing the gain setting for all the musical genres.
Conclusion
Hopefully, you have learnt what the clipping point is in the sin wave and how to use an oscilloscope for car audio to find out the clipping point. If you play your sub and speaker on the clipping point, you will face too much distortion and the amplifier will work harder than it should. So, if the amplifier runs the top of its limit, it will generate more heat, and draw more power from the battery, the subwoofer and speakers will start heating up and ultimately it will blow the fuses, amplifiers, speakers and subwoofers. So don’t take the clipping problem lightly.

